Table of Contents
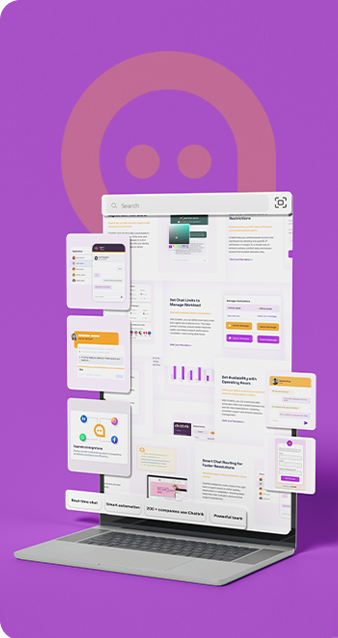
The Pre-Chat Form ensures your team has key visitor information before initiating a chat. By requiring fields like name, email, department, or questions, agents are better prepared to provide accurate, efficient responses. You can also assign department labels to route chats appropriately. These configurations reduce unnecessary follow-ups, improve lead capture, and enhance overall support management. The setup is simple and customizable for your business needs.
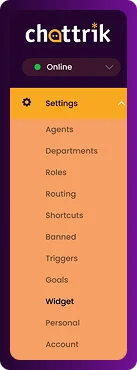
Step 1: Log in to Your Dashboard
- Log in to your Chattrik dashboard.
- Navigate to Settings and select Widget from the menu.
Step 2: Open the Pre-Chat Form Section
- Go to Forms→ Pre-Chat Form
- This section controls what information visitors must provide before initiating a chat.
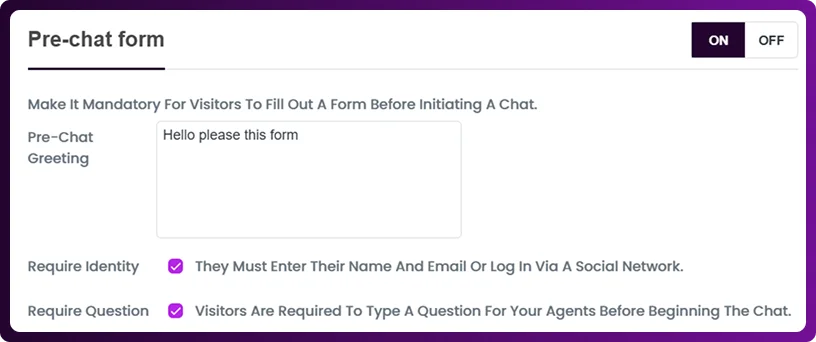
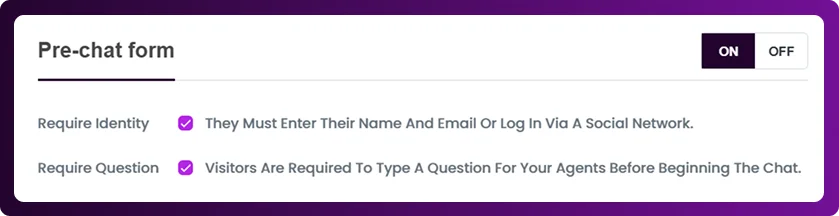
Step 3: Configure Required Fields
- Enable mandatory fields such as Name, Email, Question, Department.
- Add custom department labels if needed to ensure proper chat routing.
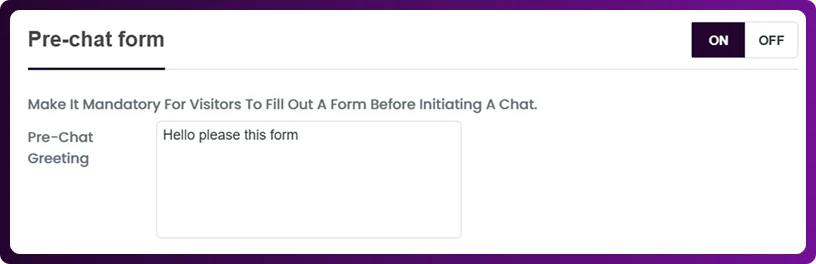
Step 4: Customize Optional Fields
- You can also add optional fields to gather extra visitor details without making them mandatory.
- This provides flexibility based on your business needs.
Step 5: Save Your Settings
- Click Save Changes after all configurations.
- The form updates immediately and is applied to all future chats.