Table of Contents
Chattrik’s IP Restriction feature gives you better control over security by allowing you to block or restrict access from unwanted IP addresses. This ensures your chat widget is only accessible from trusted networks while preventing misuse from unauthorized sources. You can add multiple IPs, toggle restrictions on or off, and customize the setup to match your needs.
Step 1: Log in to Your Dashboard
- Log in to your Chattrik dashboard.
- Navigate to Settings and select Account from the menu.
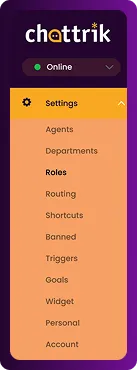
Step 2: Open the Security Tab
- Go to Account → Security.
- This tab helps you manage IP restrictions.
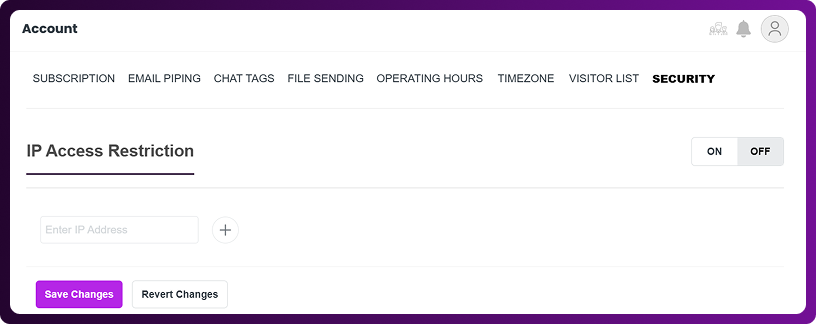
Step 3: Restrict IPs
- Under the IP Access Restriction section, enter the IP addresses you want to block.
- You can add multiple IPs at once.
- Use the toggle to enable or disable restrictions as needed.

Step 4: Save Changes
- After setting up restrictions, click Save Changes.
- The blocked IPs will no longer have access to your chat widget.