Table of Contents
The ban option in Chattrik allows you to manage disruptive or spammy visitors effectively. By banning a customer, their IP address is restricted from initiating future chats, protecting your agents’ time and ensuring smooth customer support. You can track previously banned visitors, search or filter through the ban list, and add new bans with clear reasons. This ensures better security, control, and an improved support experience for both agents and genuine customers.
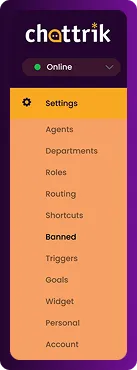
Step 1: Log in to Your Dashboard
- Log in to your Chattrik dashboard.
- Navigate to Settings → Banned from the menu.
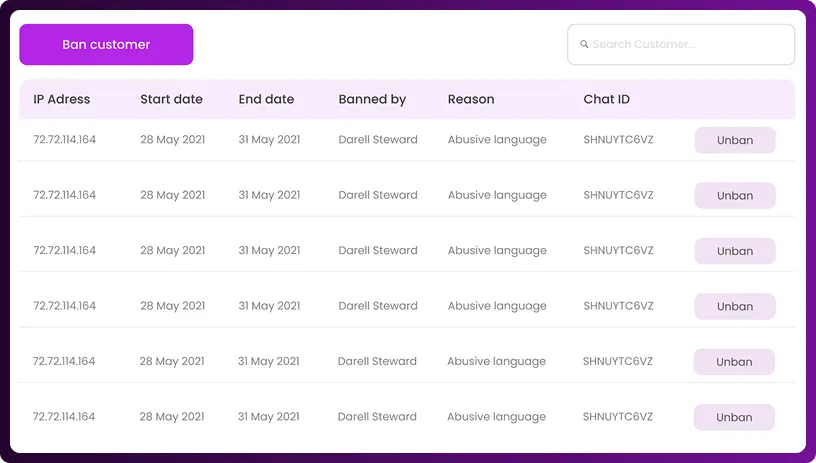
Step 2: View Banned Visitors List
- From this section, you can see your previously banned visitors.
- Use the Search and Filter options to quickly locate specific visitors.
Step 3: Ban a New Visitor
- Click on Add Visitor to create a new ban.

Step 4: Enter Details
- Provide the visitor’s IP Address.
- Add a Reason for banning the visitor (e.g., spam, abusive behavior, repeated disruptions).
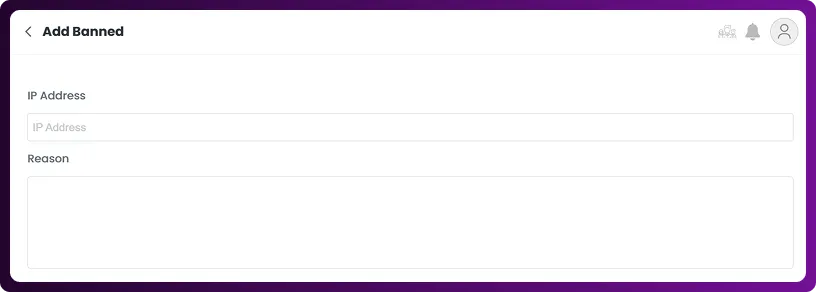
Step 5: Save the Ban
- Click on Create Ban.
- The new banned visitor will now appear in your Banned Visitors List.